How to Watermark Photos with Photoshop
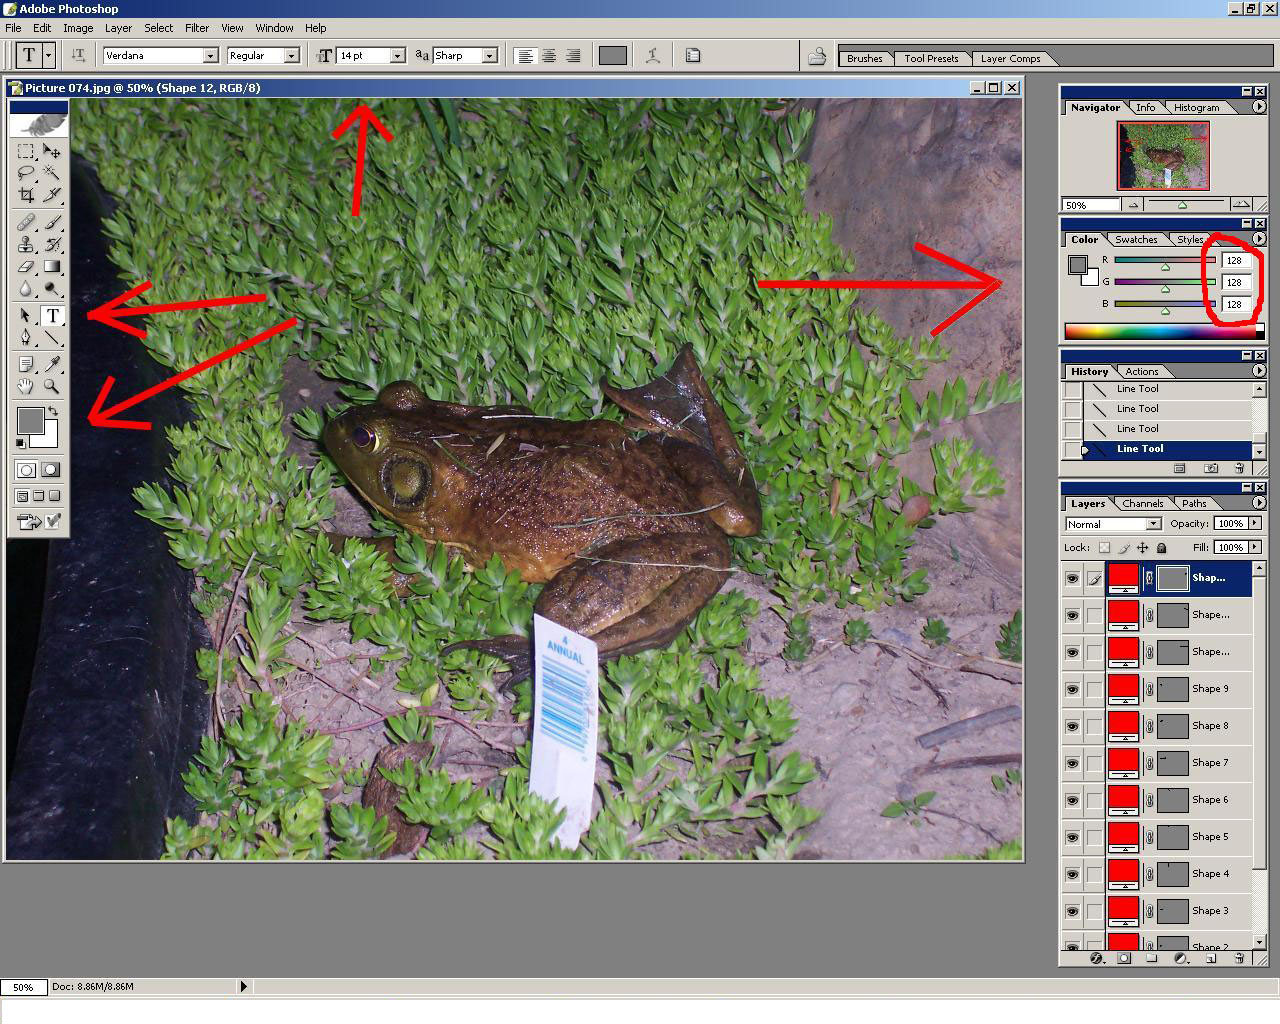
Open Photoshop and open the picture you want to watermark. In the picture below set the following. Bottom left arrow select gray color. To get dead on gray, enter 128 in the RGB settings box circled on the right.
Next select the Type tool on the left marked by a T, then set your font size in the box above the top arrow.
↓
After you select the Type tool and set your font size, click on your picture about where you want your text to be. Don't worry, you can move it if you need to. You can see the text I have now just above the frogs back right foot.
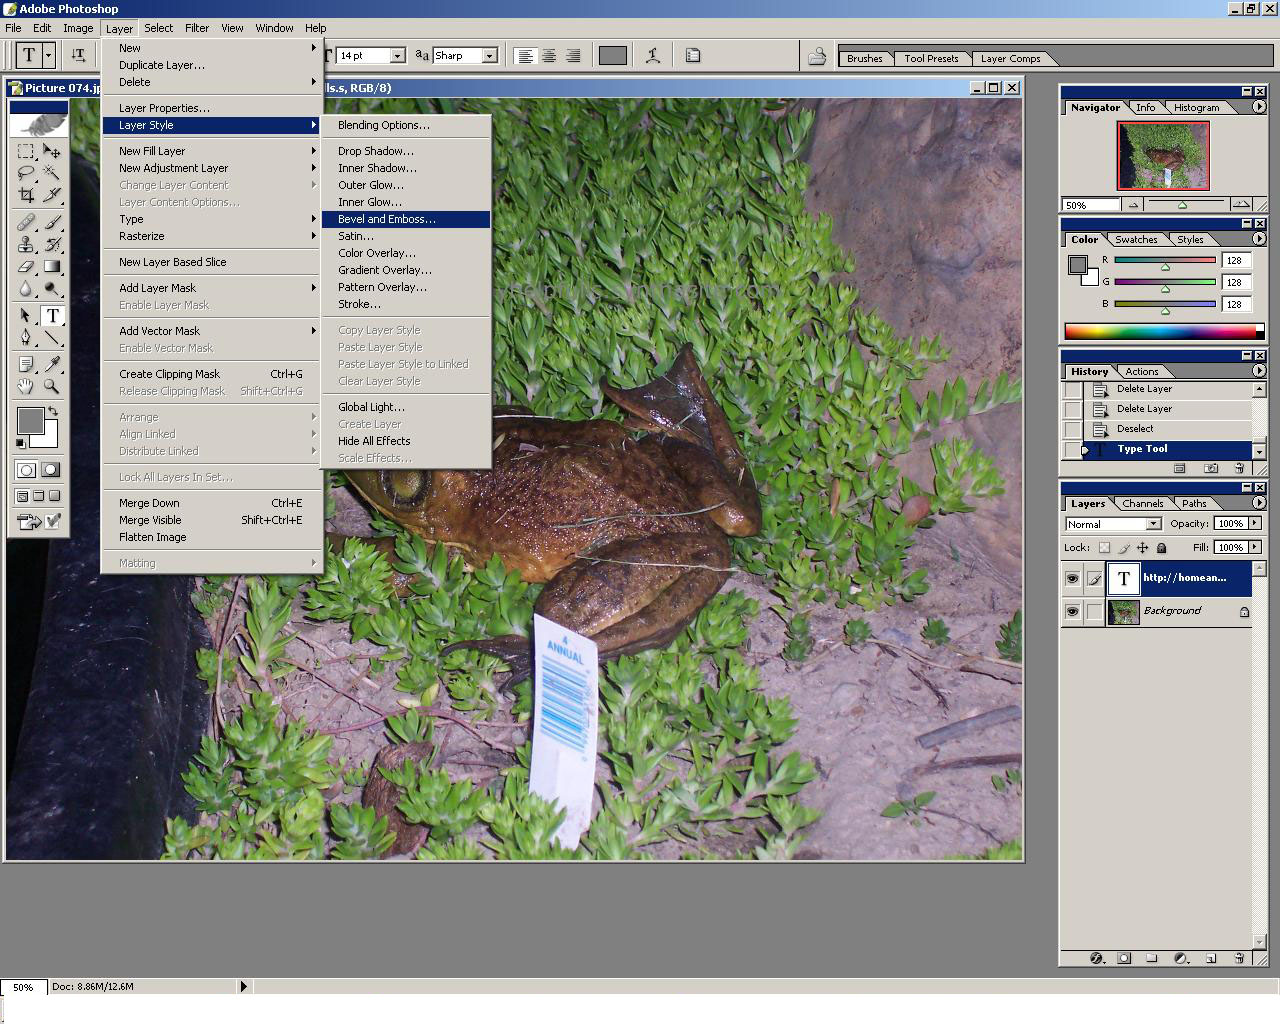
After you place your text, select Layer, Layer Style, Bevel and Emboss from your menu.
↓
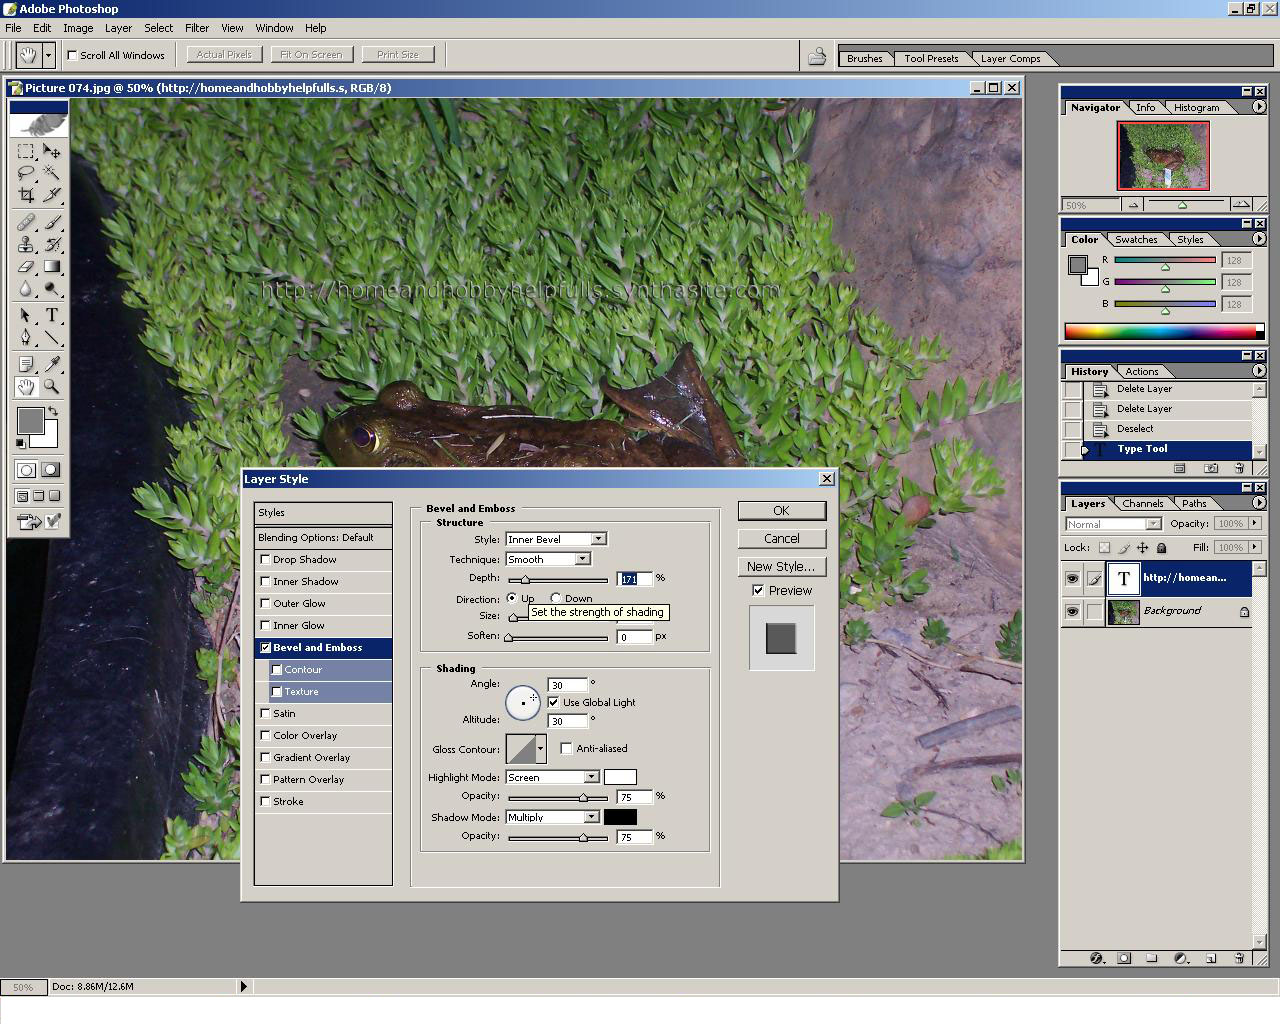
In the picture below you will see the Bevel and Emboss menu options, and the default settings make a change you can see instantly.
You can adjust the settings if you wish, but the defaults work just fine.
↓
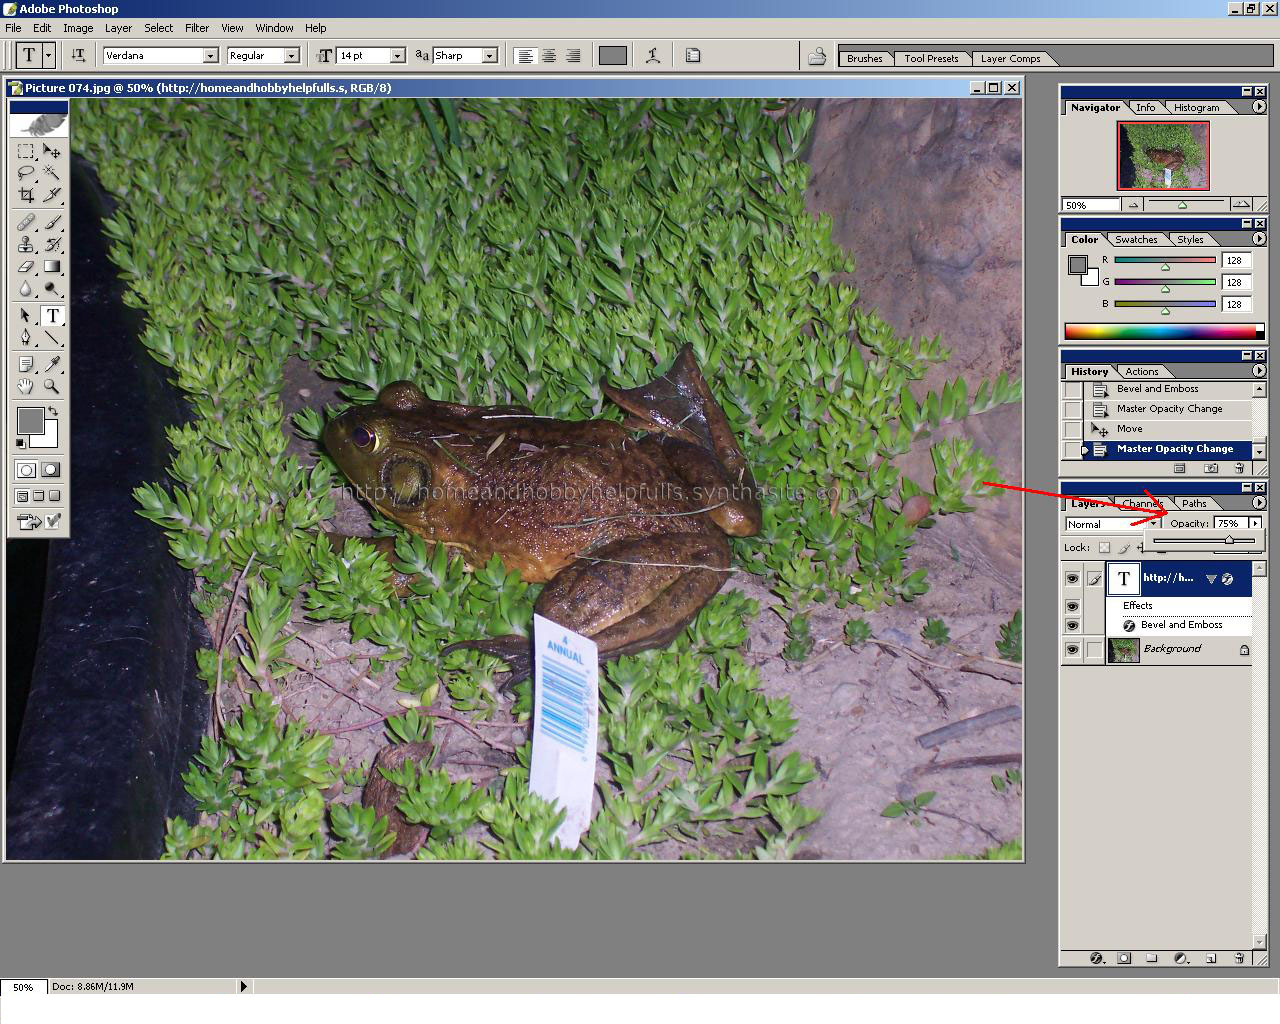
Next to the red arrow in the picture below, you will find the opacity setting. Set this to where you want it and it looks best.
You will also notice that the text has moved to on the frog from where it was. This can be done by selecting the text layer below the red arrow marked with a T. Then while holding the Ctrl key down, left mouse click on your text it the picture and drag it to where you want. By holding the Ctrl key and left clicking just outside a corner of your text, you can rotate it.
↓
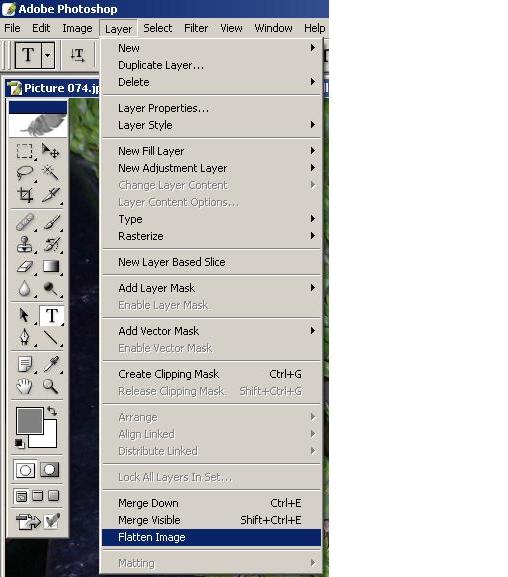
After you set your opacity, select Layer, Flatten Image. Then File, Save As.
↓
→
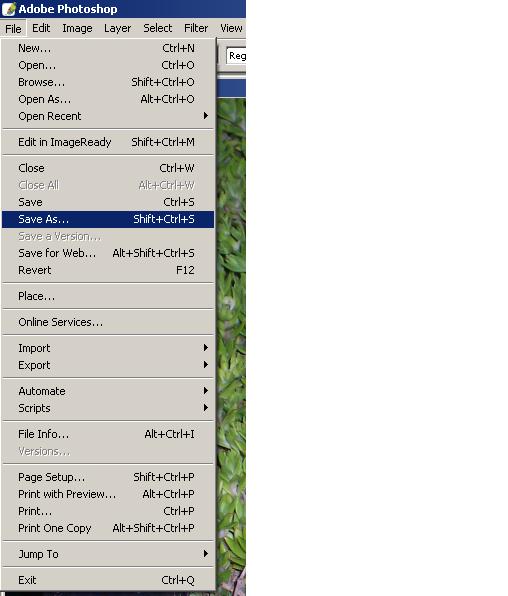
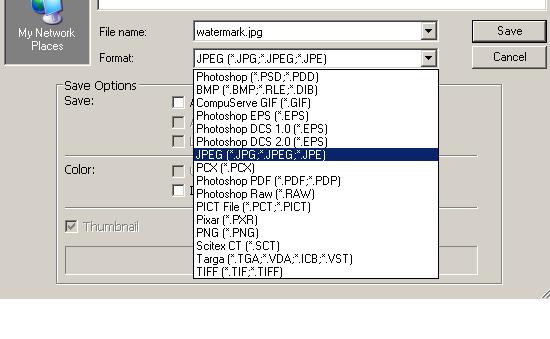
After your Save As menu pops up, type in a new filename so you don't mess up the origional, and select the file type, usually .JPG
↓
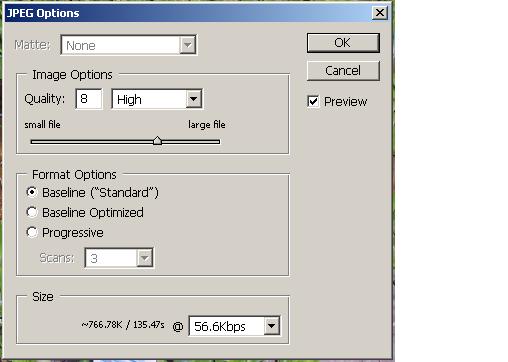
The options screen will pop up next. Unless your into something specific with photoshop, the defaults are fine.
↓
You're Done.
↓
